
Large Image in Small Div
I'm making an Amish furniture catalog web site — database, a dashboard to interact with the database, and web page presentation of information in the database.
Each furniture item has at least one photograph. Some have many.
The photographs are huge! (The photograph of a chair used for the demonstration in this article is typical. The photo's dimensions are 3138 X 5264 pixels, large enough to overflow a big desktop computer screen.)
For this project, the pictures need to be presented on screens ranging from phone to desktop — without overwhelming.
During research for ideas, I found various methods used to wrangle simplicity from a hodgepodge of photos.
There is a method used at some merchandise catalog sites that I find annoying, but that other people might not. With a desktop browser, when the mouse moves over a section of an image, a larger image of that section is popped on the screen. It interferes with my shopping when I inadvertently move my mouse over one of the sensitized images and it covers up what I was reading.
Although that may be a fine way to make sense of things, I still prefer not to build something I personally find annoying.
There is another method with an image in a div. When the image is tapped, the large version of the image is displayed in the div. The div is swiping- and scrolling-enabled for viewing the various sections of the image.
A drawback with that method is that a huge image requires lots of swiping or scrolling to see certain sections of it.
A version of that is to let the user determine the magnification they are comfortable with. Tapping a "+" icon makes the image larger. And a "−" tap makes it smaller.
The first version of the Amish furniture website will have that functionality.
Code is presented here in case you can use it.
Before the code and implementation instructions, here is a demonstration.

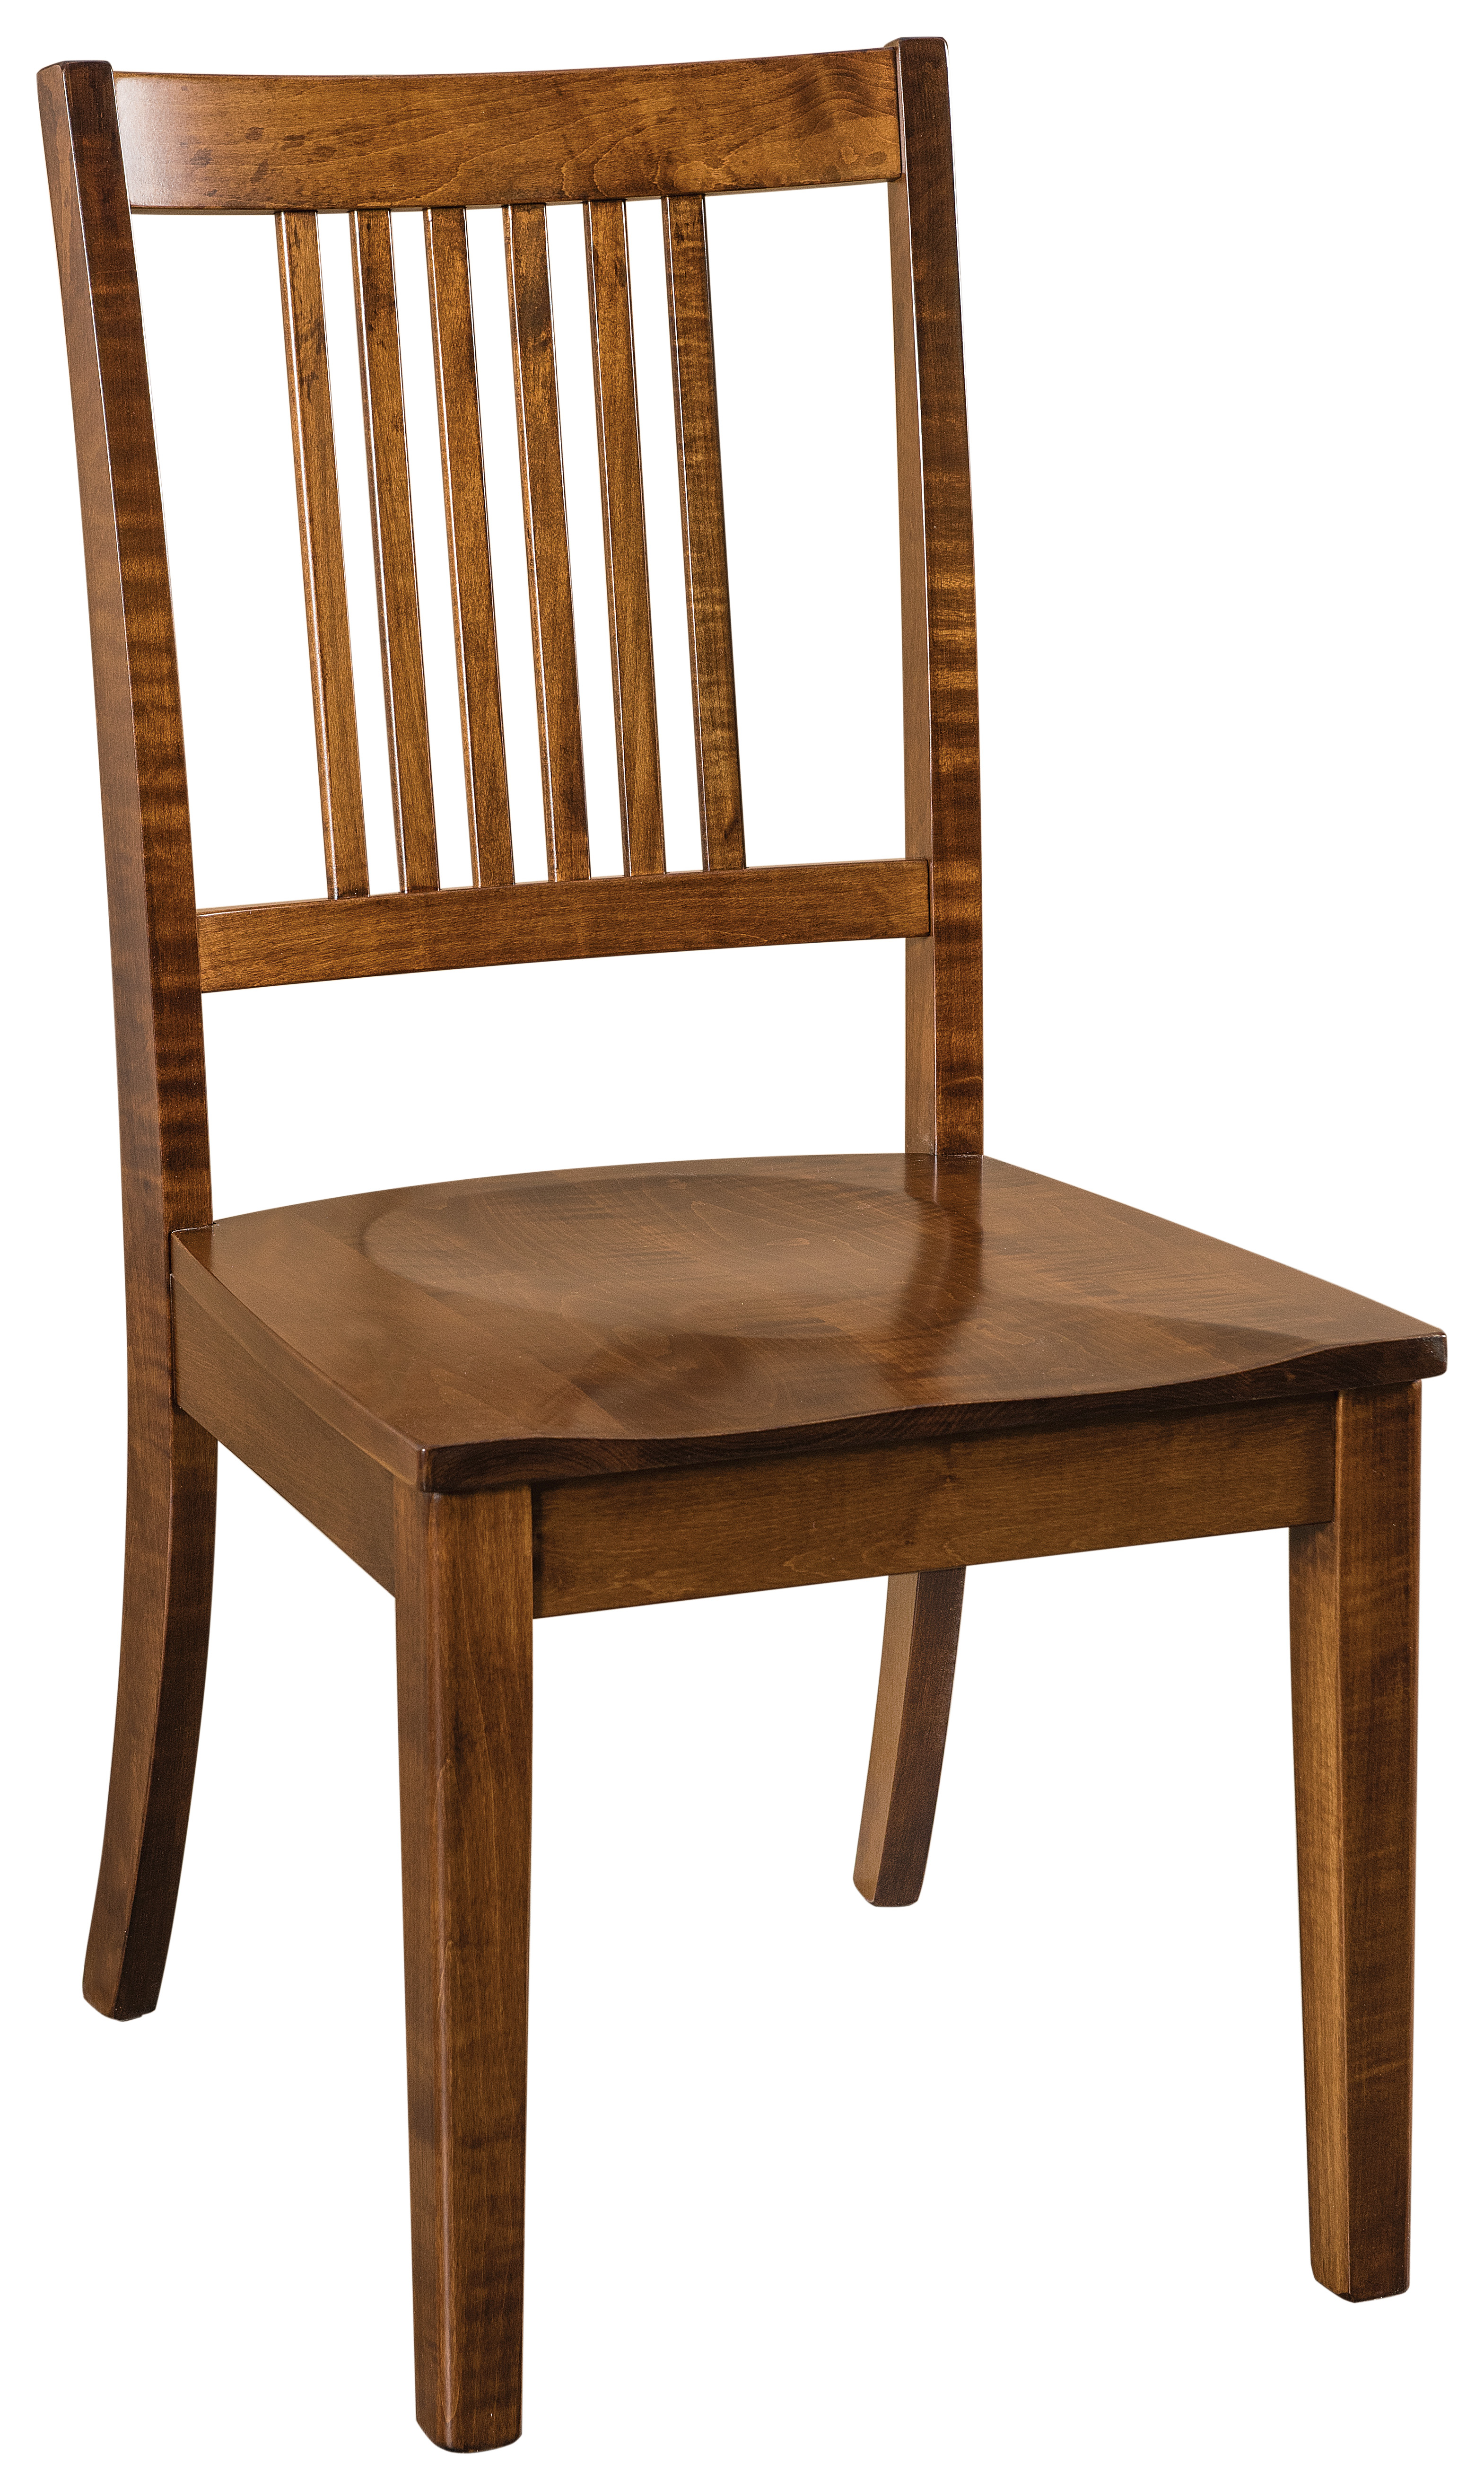
I remember that very type of chair while growing up. They were used at the dining table.
Early on, as a tyke, I would kneel on the chair to be high enough to reach my plate. As a teenager, my intent generally was focused on cleaning off my plate fast enough for second helpings before someone else emptied the serving bowls.
Enough reminiscing.
Let's talk about how to implement the functionality on your website.
Implementing User-Controlled Image Size Adjusting
You will need the URL of (1) a large image, (2) the CSS and HTML code for presenting the image, and (3) the JavaScript to adjust image magnification.
When you used the demonstration, you likely noticed that the icon was available only while the image was at less than its full magnification and the  icon only while the image was more than its smallest size. The JavaScript takes care of that, too.
1. A large image —
You will need the URL of the large image for presenting in the image div. In these instructions, the image URL https://example.com/large.jpg is assumed.
2. The CSS and HTML for presenting the image —
The code below is both the CSS and the HTML used to present the image.
For better visual correlation, the CSS class and id selectors are bolded. Some are colored, too.
All of the CSS selectors are used in the HTML. The colored ones are also referenced in the JavaScript you'll find later in these implementation instructions.
If you change any of the CSS selectors, the names need to be changed correspondingly in the HTML and, if colored, also in the JavaScript.
Here is the code for the CSS and HTML to present the image. Notes follow.
<style type="text/css">
.the-overall-container-width { width:calc(100vw - 25px); max-width:400px; }
.plus-minus-icon-container { position:relative; height:0; }
#make-larger-link { position:absolute; cursor:pointer; top:1px; right:11px; }
#make-smaller-link { position:absolute; cursor:pointer; top:1px; right:52px; }
.plus-minus-image { height:40px; width:auto; border:none; outline:none; }
#furniture-image-container { max-height:650px; overflow:auto; border-radius:3px; border:1px solid #97582b; }
#the-furniture-image { width:400px; max-width:100%; transition:width 1s; }
</style>

<!-- Start of first container div. -->
<div class="the-overall-container-width plus-minus-icon-container">
<div id="make-smaller-link"
   onclick="AdjustSize(-1)"
   style="display:none;">
      <img src="https://example.com/MinusSymbolImage.png"
         class="plus-minus-image"
         alt="minus">
</div>
<div id="make-larger-link"
   onclick="AdjustSize(+1)"
   style="display:block;">
      <img src="https://example.com/PlusSymbolImage.png"
         class="plus-minus-image"
         alt="plus">
</div>
</div>
<!-- End of first container div. -->

<!-- Start of second container div. -->
<div id="furniture-image-container" class="the-overall-container-width">
<img id="the-furniture-image" src="https://example.com/large.jpg" alt="image for transition">
</div>
<!-- End of second container div. -->
Notes:
There are seven CSS declarations. Here is the purpose of each one.
The first of the seven CSS rules applies to both HTML container divs (referred to further below). The next four CSS rules apply to the container div with the magnification icons. And the last two CSS rules apply to the container div with the image that may be magnified.
A colored CSS rule selector means the selector is also referenced in the JavaScript (also further below).
-
the-overall-container-widthThis class is used to conform the two HTML container divs (see further below). The purpose of the class is to ensure both container divs have the same
widthandmax-widthdeclarations.The width, as defined here, is the width of the viewport minus 25 pixels. Because on desktops this could be too wide, there is also a
max-widthdeclaration. Themax-widthvalue needs to be no less than the width of the image when the web page first loads. -
plus-minus-icon-containerThis class is for the first of the two HTML container divs, the div that contains the magnification icons.
Both declarations need to remain as they are.
-
make-larger-linkThis id is for positioning the "+" icon link. It is also referenced in the JavaScript (further below).
The CSS declaration
position:absolute;is required. Generally,cursor:pointer;would be helpful for desktop users. The positioning declarations may be adjusted as needed.The icon link can be placed anywhere — at the top-left edge of the container div over the image that may be magnified, at the top-right, any place you want it to be.
If you generally work with a laptop or desktop, you may be tempted to put the magnification icons on the right side of the image div so the icons won't hover over the image. But don't do that. When presented on a device, the magnification icons might be off the edge of the screen.
-
make-smaller-linkThis id is for positioning the "-" icon link. It is also referenced in the JavaScript (further below).
The CSS declaration
position:absolute;is required. Generally,cursor:pointer;would be helpful for desktop users. The positioning declarations may be adjusted as needed.The icon link can be placed anywhere, as specified for the
make-larger-linksection, above. -
plus-minus-imageThis class is for sizing the icon images and removing any borders or outlines the browser may otherwise automatically give them.
-
furniture-image-containerThis id is for the second of the two HTML container divs, the one that holds the image. It is also referenced in the JavaScript (further below).
The
max-heightvalue should be either the height of the image at the size it is first loaded or the maximum height that the div with the image may occupy on the page. Different images may have different heights. If none would make the div taller than the space you have available for it, JavaScript may be used to calculate the height. But if there is a maximum space available for it, the value may need to be specified manually for each image div you are implementing.The
overflow:auto;declaration is required.
The border and other design are optional. -
the-furniture-imageis for the image itself. It is also referenced in the JavaScript (further below).The
widthvalue is used to specify the width of the image when it first loads on a page. The value of thiswidthdeclaration should be the same or less than the value for themax-widthdeclaration in thethe-overall-container-widthCSS rule.The
max-width:100%andtransition:width 1sneed to be present. The1sin thetransitionvalue may be changed to modify the speed that the image changes size when a magnification icon is tapped.
The HTML code is composed of two container divs, the div containing the magnification icons and the div containing the image that may be magnified. The start and end for each of the two containers are marked with an HTML comment.
In the first container div, replace https://example.com/MinusSymbolImage.png and https://example.com/PlusSymbolImage.png with the URL of a "-" icon image and a "+" icon image, respectively.
If you wish, you may download the example "-" icon image and the "-" icon image for use on your website.
In the second container, replace https://example.com/large.jpg with the URL of the image to display within the div.
3. The JavaScript to adjust image magnification —
This is the JavaScript code. Notes follow.
<script>
/* User-Controlled Image Size Adjusting
   Version 1.0
   May 2, 2020
   Will Bontrager Software LLC
*/

/* Customization (next four variables) */
var ImageContainerDivID = "furniture-image-container";
var AdjustableSizeImageID = "the-furniture-image";
var MakeSmallerLinkID = "make-smaller-link";
var MakeLargerLinkID = "make-larger-link";
/* End of customization */

var Img=false, MinWidth=0, OnceDone = false;
function DoOnce()
{
   if( OnceDone ) { return; }
   OnceDone = true;
   var container = document.getElementById(ImageContainerDivID);
   Img = document.getElementById(AdjustableSizeImageID);
   MinWidth = parseInt(container.scrollWidth);
   Img.style.maxWidth = "none";
   Img.style.width = MinWidth + "px";
}

function AdjustSize(m)
{
   DoOnce();
   document.getElementById(MakeLargerLinkID).style.display = "block";
   document.getElementById(MakeSmallerLinkID).style.display = "block";
   var maxWidth = Img.naturalWidth;
   var nowWidth = Img.style.width;
   nowWidth = parseInt(nowWidth);
   var step = parseInt(nowWidth/2);
   if( m < 0 )
   {
      nowWidth -= step;
      if( nowWidth <= MinWidth )
      {
         nowWidth = MinWidth;
         document.getElementById(MakeSmallerLinkID).style.display = "none";
      }
   }
   else// if(m > 0 )
   {
      nowWidth += step;
      if( nowWidth >= maxWidth )
      {
         nowWidth = maxWidth;
         document.getElementById(MakeLargerLinkID).style.display = "none";
      }
   }
   Img.style.width = nowWidth + "px";
}
</script>
Notes:
The JavaScript has four places that may be customized. Each is a CSS rule selector name. Customization is required only if the CSS selectors are changed.
Here is a list of each place that may be customized.
-
var ImageContainerDivID
furniture-image-container -
var AdjustableSizeImageID
the-furniture-image -
var MakeSmallerLinkID
make-smaller-link -
var MakeLargerLinkID
make-larger-link
Again, customize those only if the corresponding CSS rule selector is being changed.
Upload the JavaScript somewhere below the HTML code. At the end of the page, immediately above the cancel </code> tag is okay.
This is a fine way to display a large image in a small div, and let the magnification be according to the web page reader's preference.
(This article first appeared with an issue of the Possibilities newsletter.)
Will Bontrager


